Below are steps for creating a survey with a points-reward for your members.
1. Click "Interaction Wizard"

2. In this example, we're creating a survey-for-points, so click the "Give away points for interactions" field.

3. Click the "Survey" field.

4. Click the "Yes" field.

5. Click the "No" field. The microsite is where non-members engage. You can optionally use it for members too, but in this example, we'd rather they log in to their profile to fill it out.

6. Type a name for your survey (this is listener-facing), and click "Create"

7. Set start and end dates and times for your survey and click "Save".

8. Add an image, either by uploading or choosing from your asset library.

9. Click the first "Take me there" button so we can start building our questions.

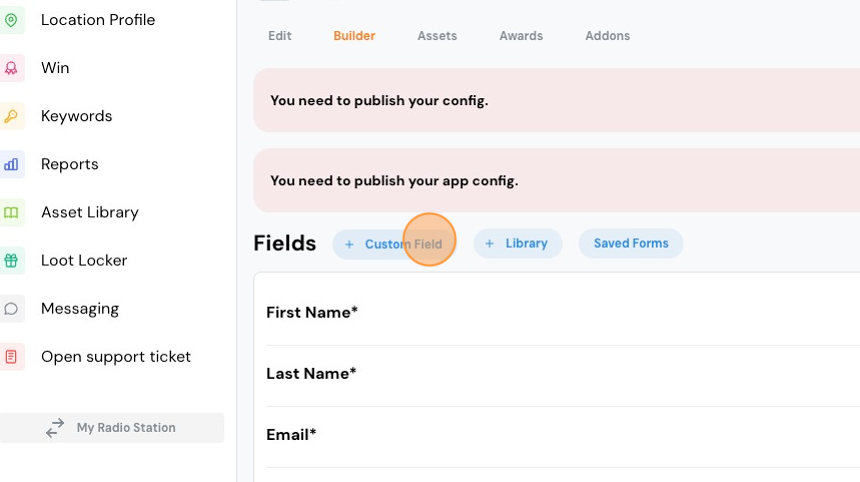
10. You'll see some existing questions, which include First Name, Last Name, Email, Mobile Phone and Zip. These are always required. However, your Members have already provided us this info (they did that when they signed up), so when they fill out the survey, they won't see these fields.
Let's create our questions. Click "Custom Field".

11. In the "Label" field, type the first question. You may optionally choose to make it Required.

12. There are four types of fields.
- Text. This is simply a text box that allows the user to type what they want.
- Textarea: Similar to Text, but it allows for longer answers.
- Select: This is a drop-down style response that allows the user to choose from answers provided by you.
- Checkbox: A checkbox is ideal for accepting terms and conditions, opting in to email marketing, etc.
From a data-analysis perspective, "Select" is your best option because of your ability to control the responses.
To create a drop-down response, choose "Select" in the Type of Field.

13. Type the response in the "Options" column and click "Add Selection."

14. Type the next response. Repeat if necessary. If you're done creating the drop-down responses, click "Add Field"

15. Repeat steps 10 - 14 to add more questions.
16. If you want to save the form for future use, click "Save to Library." You may also click "Reorder fields" if you need to change the sequence of your questions.

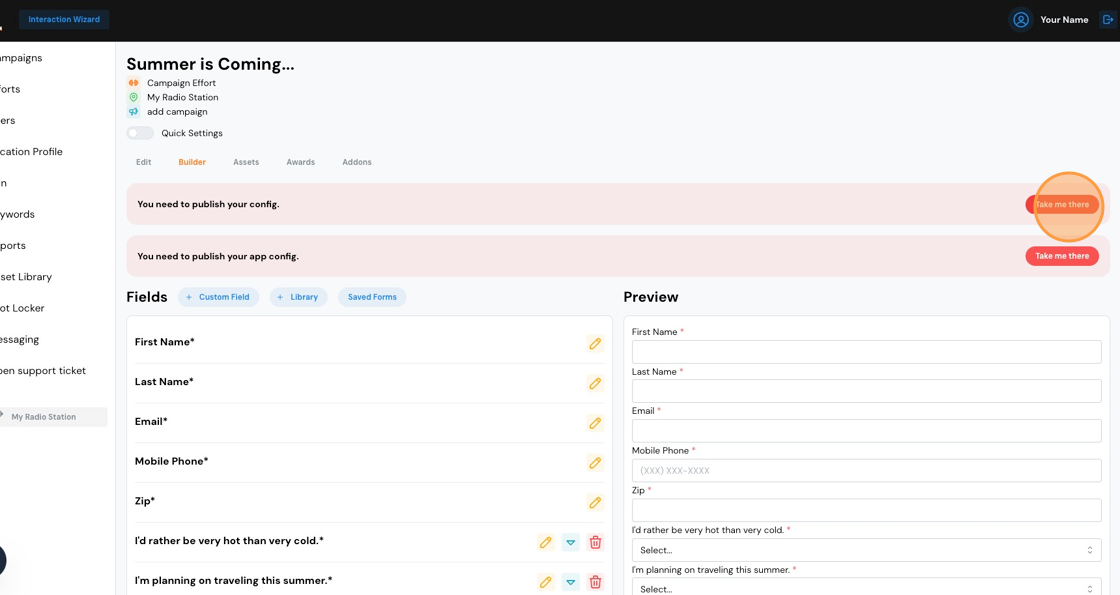
17. You need to publish your survey. Click "Take me there".
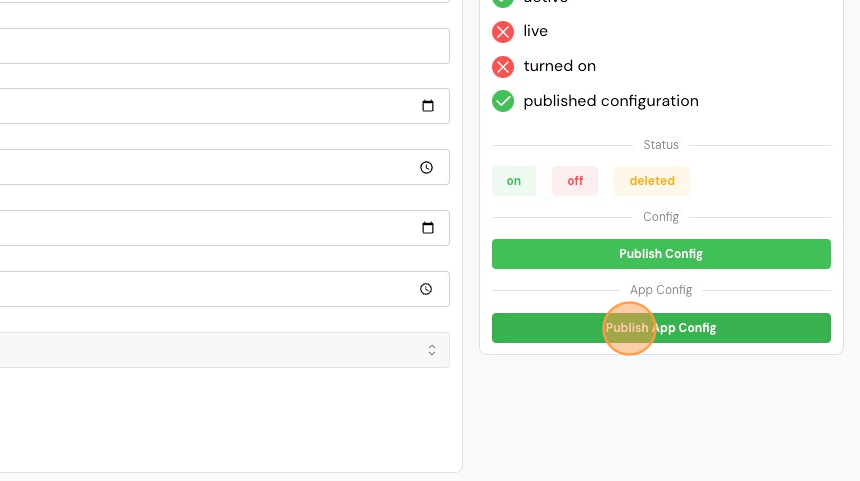
18. Click "Publish Config"

19. Click "Publish App Config"
20. Click "on"

21. To adjust the points-reward, click the "Awards" tab.

22. Use the +, - or keyboard icons to adjust the reward.

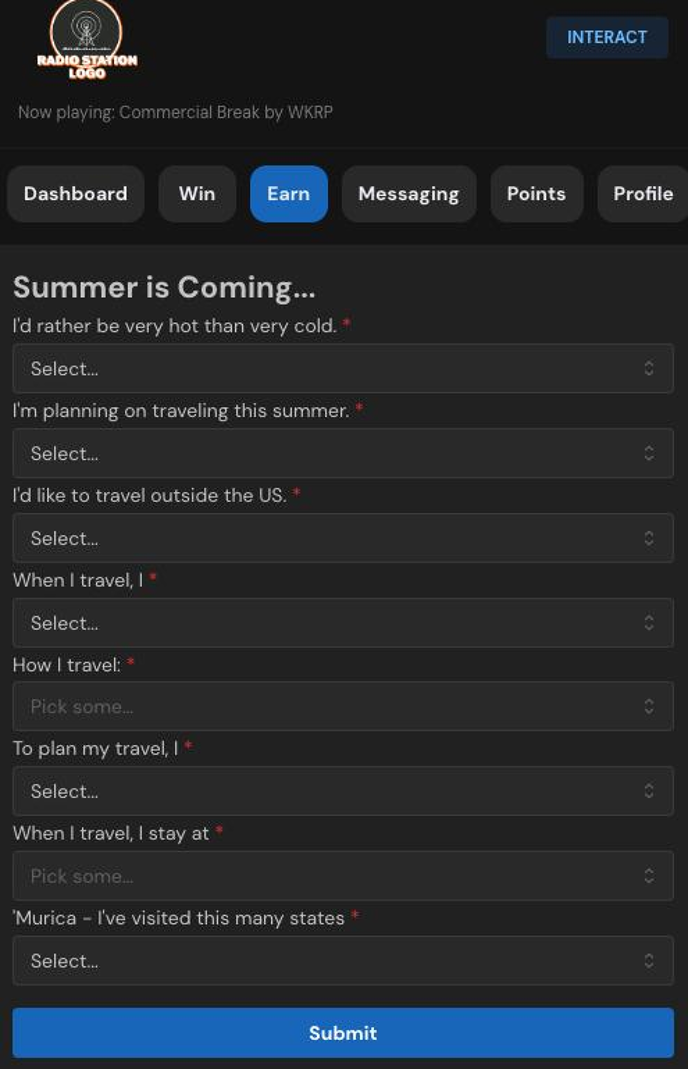
23. Let's look at how this survey will appear to the user. Note that surveys appear on the "Earn" tab in the member profile.
Comments
0 comments
Please sign in to leave a comment.