This video will illustrate the initial registration process for both the customer and the validator in the Let's Ride Challenge Ride For Heroes. For a written step-by-step, please scroll down.
Topics covered:
- Authentication
- Registration
- Adding a Harley Owners Group/Passenger member ID
- Adding the first VIN
- Submitting the first odometer reading
- Validating the first VIN
- Validating the first odometer reading
Written step-by-step
1. Direct the customer to the Let's Ride Challenge™ Ride For Heroes poster. They'll need to open the camera on their mobile phone and scan the QR code.

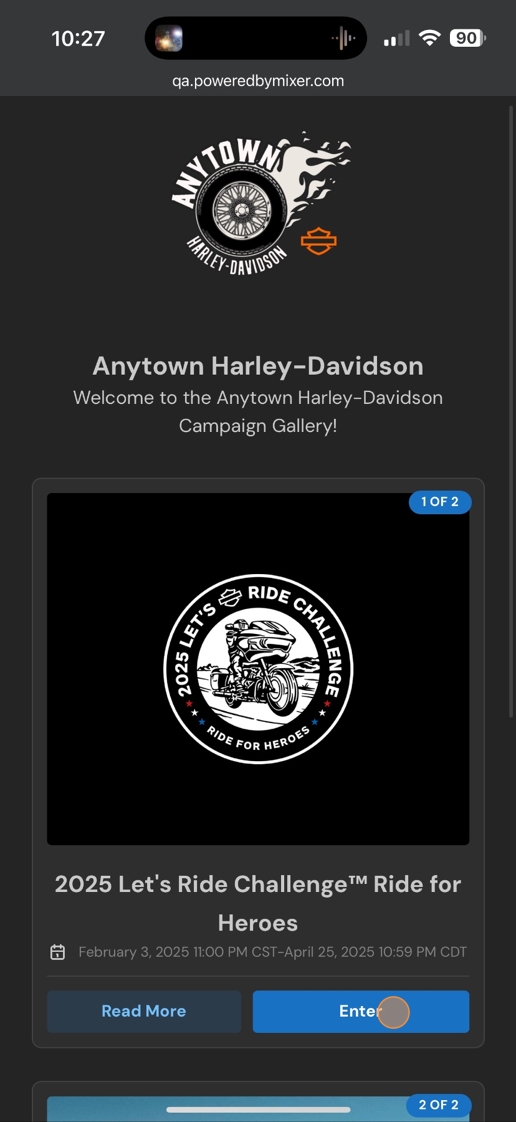
2. The dealership campaign gallery will open. Note that in order to find the ride challenge, the customer may need to scroll depending on what other campaigns the dealership is participating in. Once they find it, they tap "Enter".
3. The customer now enters either their mobile phone or email address in order to authenticate. After tapping "Submit", they'll receive a 6-digit code which must be entered on the next screen.

4. Note that most modern devices and browsers have a feature called "auto-fetch", that will fetch the code and display it in the browser, as shown below. All the customer has to do it tap it to fill in the code.

5. Next, the customer will fill out the registration form.

6. After completing the form, the customer taps "Save".

7. Optionally, the customer can now add a Harley Owners Group member ID. If they don't have one or want to do this later, they can tap "I'll do this later".

8. Now they'll add a VIN. First, they answer three questions:
- Are you a rider/passenger?
- Do you own/rent?
- Is your odometer in miles/kilometers?

9. Then, they'll enter the model year and VIN, and then tap "Submit".

10. This screen allows them to review the information, and either confirm it or go back to make changes.

11. Once they've confirmed the VIN, they'll enter the current odometer reading and tap "Submit".

12. Again, they can confirm their entry is accurate before proceeding.

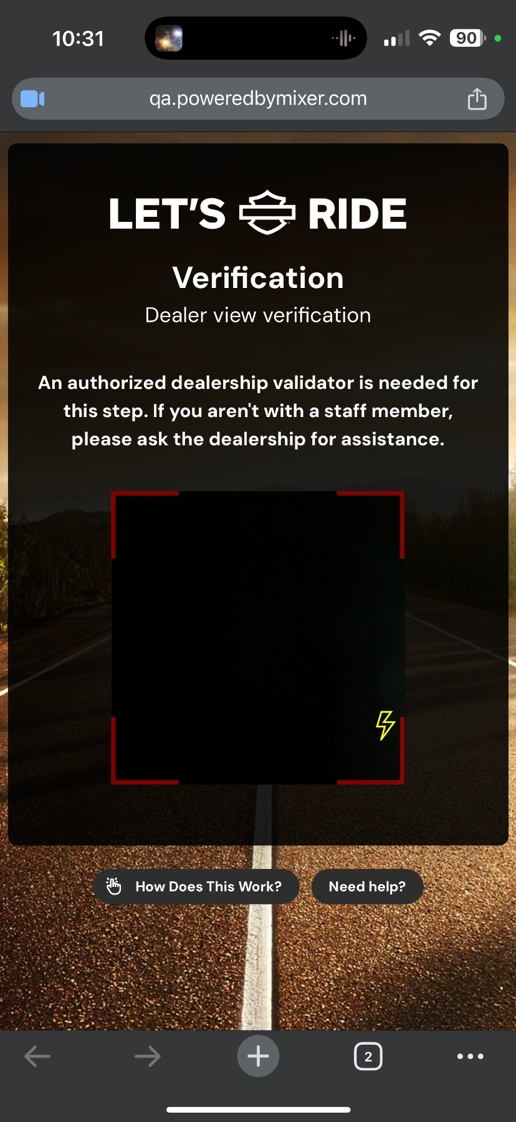
13. The customer is now instructed to find a Validator - an authorized dealership staff member to verify their mileage. When they tap the "Found a Validator/I'm the Validator" button, their camera will open.

14. They might need to grant permission for the camera to open within the browser.

15. At this point, the customer needs to scan the Validator's ID QR code. This is NOT the same QR code they scanned on the poster. This QR code belongs to an individual staff member.
16. The Validator screen opens, displaying the Validator's name at the top. The VIN information is displayed. If the NHTSA found a match for the VIN, the "Looks Good" label is displayed, along with the model and series of the motorcycle.
The validator should still put eyes on the VIN! Make sure it matches what is on the screen.
If so, tap "Confirm."

17. Now, the Validator should look at the odometer and enter the mileage.

18. Once the mileage is entered, tap "Verify".

19. The screen will redirect to the customer's ride challenge dashboard.

Comments
0 comments
Please sign in to leave a comment.