The following tutorial explains how to add a custom question - specifically a "select" field - to a registration form. There are four types of custom questions you can add:
- Text - this allows the customer to type whatever they want.
- TextArea - this allows the customer to type whatever they want, but allows for a longer answer, up to 255 characters.
- Select - this creates a drop-down style response, where you create the answers they select.
- Checkbox - this is simply a checkbox, often used to accept terms and conditions, opt-in for email, etc.
You are strongly encouraged to use the Select option whenever possible. From a data-analysis perspective, allowing the customer to type whatever they want (using the Text or TextArea fields), makes it very difficult to gain any useful insights. You might have 100 people type completely different things, which doesn't let you easily take action based on those responses. The select field, however, allows you to control their responses, which gives you the ability to filter, sort and group data based on similar or identical answers.
Let's get started.
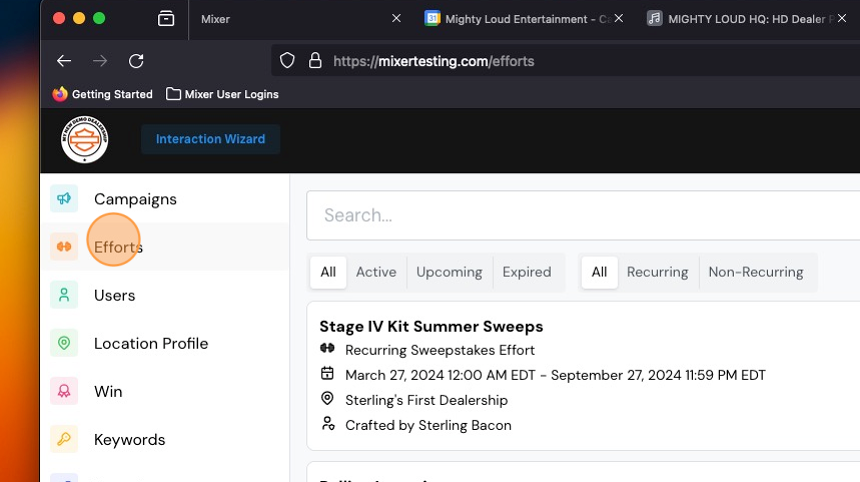
1. Navigate to your Efforts tab.
2. Select the Effort where you want to create a custom question. Or if you haven't built it yet, you'll be able to pick up with the next step once you complete the wizard.

3. Turn Quick Settings to OFF.

4. Click "Builder."

5. Click the "+ Custom Field" button.

6. In the "Label" field, type the question as you want it to appear to the customer.

7. If you want this question to be mandatory, toggle "Required" to ON. Otherwise, leave it off.

8. In the Type of Field drop-down menu, select "Select". This is the option that allows you to create drop-down choices for the customer.

9. Under "Options," type the first response you want to offer.
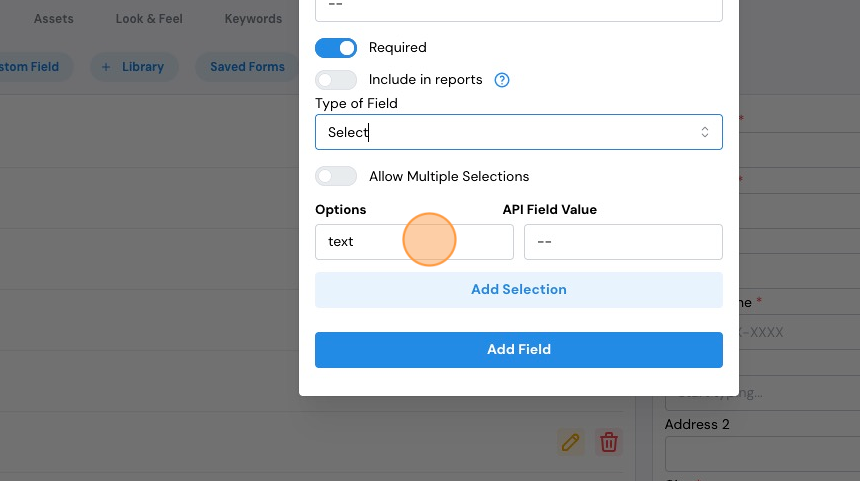
10. To create your next response, click "Add Selection."

11. Repeat this process as many times as needed.

12. If you want to delete one of your options, just click the trash can icon.

13. Once ready, click the "Add Field" button.

14. On the right of your screen, you can preview and interact with the new question.

15. If necessary, adjust the order of your questions by clicking "Reorder Fields."

16. Click and drag the question to the appropriate place on your form.

17. Click "Save Order." Don't forget to publish any changes!

Comments
0 comments
Please sign in to leave a comment.