In this section, we're going to cover how you can use the H-D® Promo Tool to create your own sweepstakes. Before you begin, let's look at the list of questions and details you should consider:
- What's the prize? Or prizes?
- When does the sweepstakes start and end?
- How many entries can a customer get? Is the event long enough to drive repeat engagement? Or short enough that a single entry is best? Read this short article to help you decide.
- What do you want to ask them during the registration process? Do you want to use the standard H-D® registration and collect purchase intent? Do you want to add questions of your own? Don't overlook the importance of this. You have a brief moment in time when you can learn something about the customer that may be useful.
- Finally, compile any rules, images and marketing copy you're going to need. For a guide to image requirements and best-practices, check out this guide.
Having assets compiled and answers to the above questions before you begin will make the process easier!
(Note - this step-by-step assumes you've already added the prize(s) to your Loot Locker. If you haven't done that yet, check out this guide.)
Here is a video of this entire process. Below is a written step-by-step.
1. Click the "Interaction Wizard" button in the top-left of your screen.

2. Click the "Create a sweepstakes" field. This will allow us to create a standalone sweepstakes for your customers.

3. If the customer can earn additional entries to increase their odds of winning, choose "repeatedly." If the customer can only earn the initial entry for registering, choose "Only once."
For this example, we're going to build a repeat engagement sweepstakes.

4. Click the "Form" field. This allows the customer to submit a registration form to enter.

5. If you'd like the customer to be able to check-in, click the "Yes" field.

6. The "location" is your dealership. Click the "Yes" field.

7. Geospots are geofenced locations other than your dealership. For this example, we won't use them. Click the "No" field.
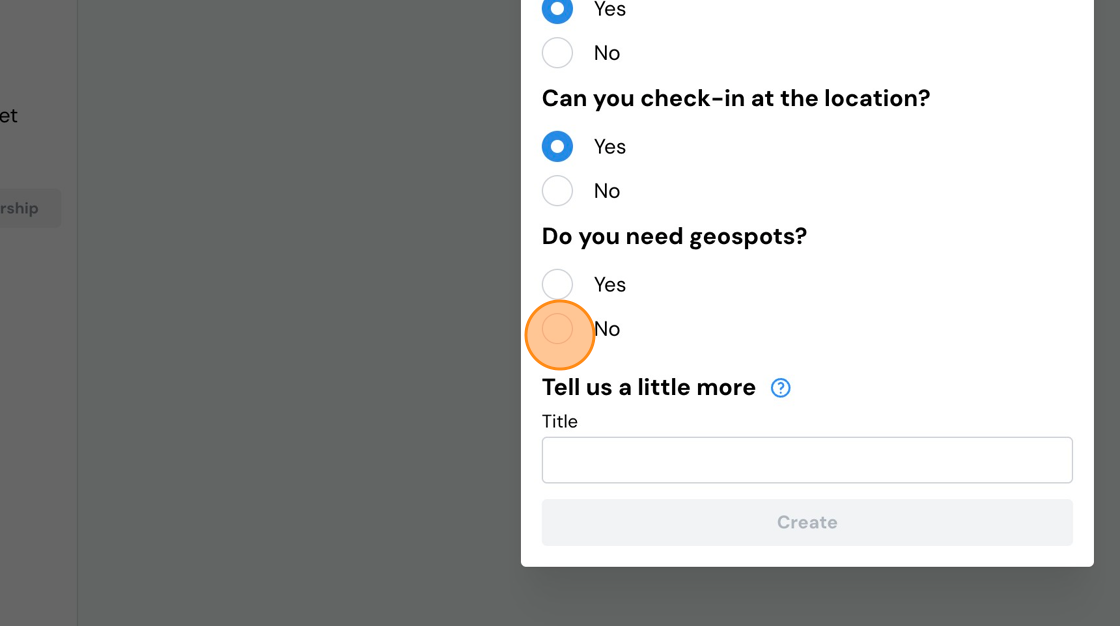
8. Name your sweepstakes. This is a customer-facing title.

9. Click "Create".

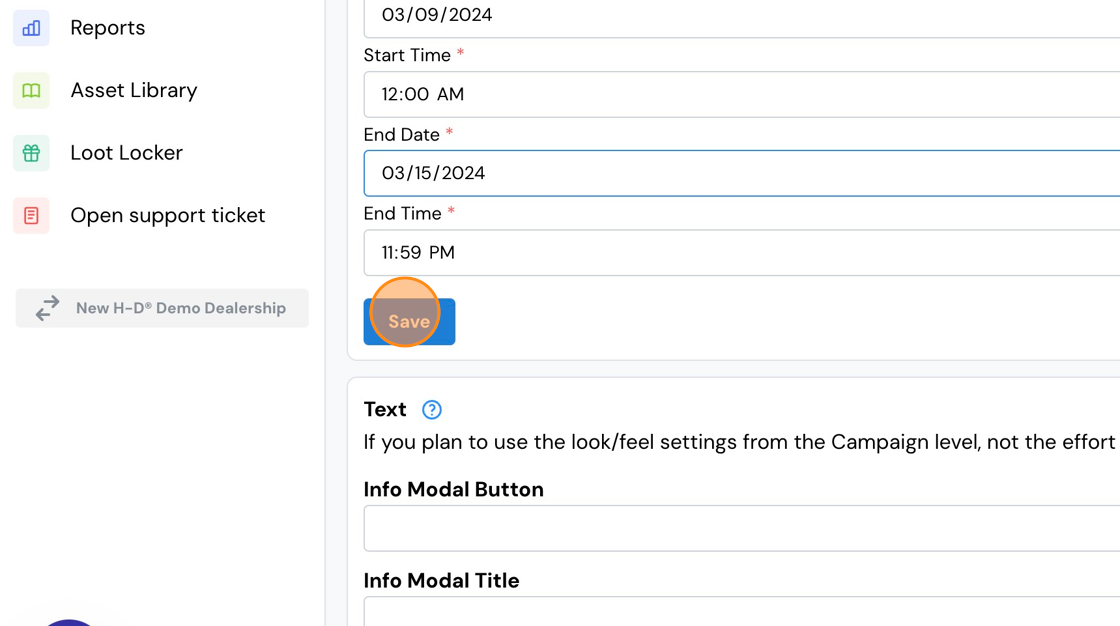
10. Now, we need to set start and end dates/times for the sweepstakes. Set your dates and times.

11. Click "Save" to move on to the next section.
12. Now we need to add some text to the modal window. The modal window is a pop-up window that the customer can access from any screen by tapping the button at the top of their screen.

13. When they tap it, it looks something like this. This is a great place to include additional details about the sweepstakes, the prize details, terms & conditions, and links to rules, privacy policy, official web sites, etc.

14. The first field is the label for the button. "Info & Rules", "More Info" or similar labels work well.
The second field is a title, and the third is where you can type marketing copy, terms, etc.

15. Next, we can either add an existing sweepstakes or create a new one. This is the actual contest, where we'll build the prizes.
Click "Create a new sweepstakes".

16. Type the name of the contest. This might be the same as the name of the prize, or it could be the name of your event.

17. Click "Submit".

18. Set the start/end dates and times for the contest. Often, these will be the same as the dates and times you previously set for the sweepstakes, but not always.
For example, you might run a six-week sweepstakes, with multiple prizes given out over the course of the six weeks. So you'll often have contests that run for a limited period during the sweepstakes, and will have different start/end dates and times.

19. Click "Save".

20. Now let's create our first keyword. At this stage, you'll just create one, but you can easily add more later in the process.

21. Type the keyword, and set the dates and times the keyword should be valid.

22. Click "Add Keyword"

23. Set the contest keyword value. This is the number of entries a customer earns by redeeming any of the keywords associated with this contest.
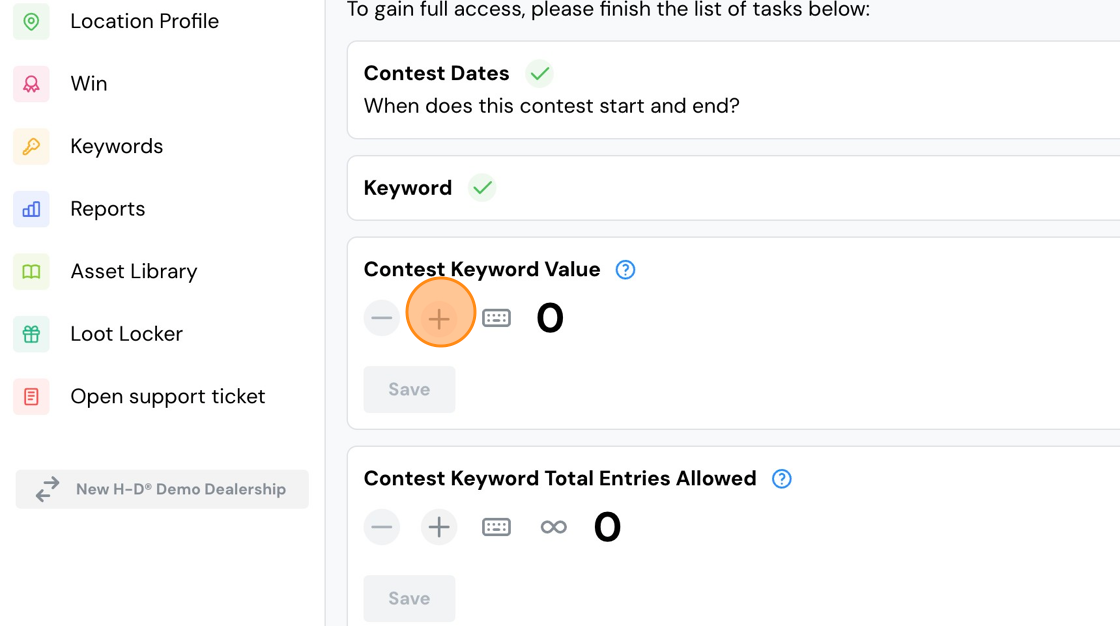
24. Click "Save".

25. Now, set the Contest Keyword Total Entries Allowed. This is the TOTAL number of entries a customer can possibly earn over the course of the contest by redeeming keywords.

26. Click "Save"

27. Set the Contest Keyword Use Total. This determines how many times a customer can use any given keyword for this contest. So for example, if you set the number to 1, each customer can only use each keyword one time.

28. Click "Save".

29. Set the initial entry. The initial entry is how many entries the customer gets simply for filling out the registration form. Typically, it's 1 or 2.
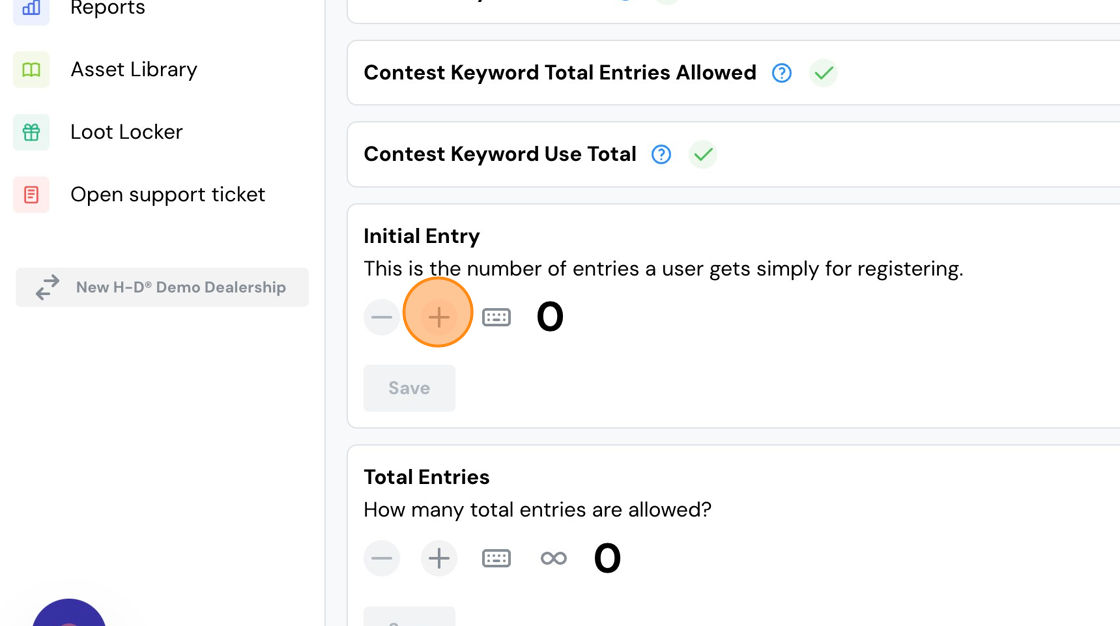
30. Set the Total Entries. This is the maximum number of entries a customer can possibly earn for this contest, including the Initial Entry, Total Keyword Entries and Check-ins.

31. Click "Save".

32. Let's add a contest image. Ideal size is 450x600, but there will be text overlayed on this image, so it's best to leave a safe-zone at the top and bottom. See example below. This is the customer's view on a mobile device.

33. You can upload from your hard drive, or use the Asset Library button to insert an image.

34. Let's attach the prize from our Loot Locker. Click the ellipsis (the three dots) menu at the bottom left.

35. Click "manage loot items" to open the Loot Locker.

36. Select the prize from your Loot Locker.
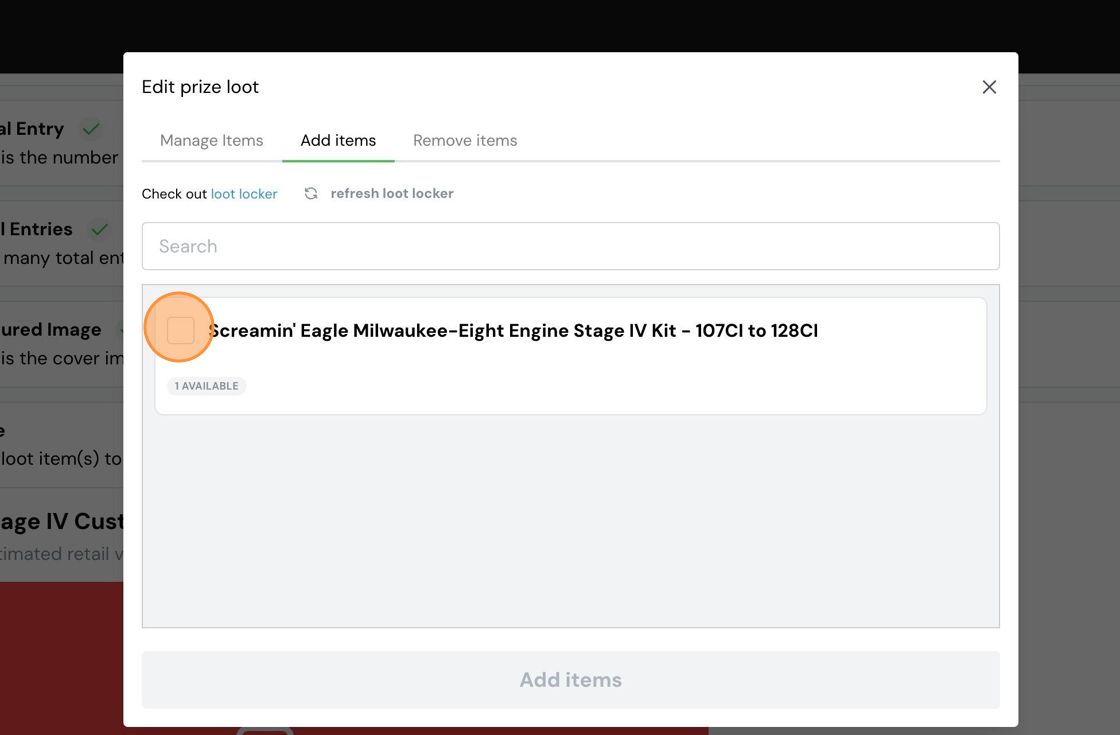
37. Click "Add items" and then close the Loot Locker window.

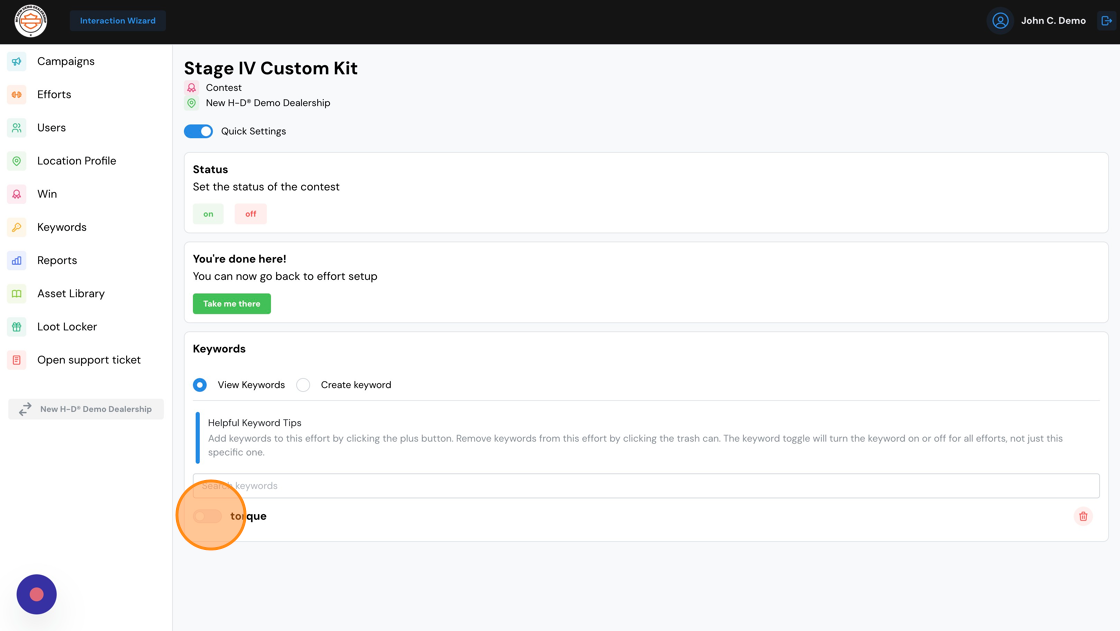
38. Turn your keyword on by clicking the toggle.
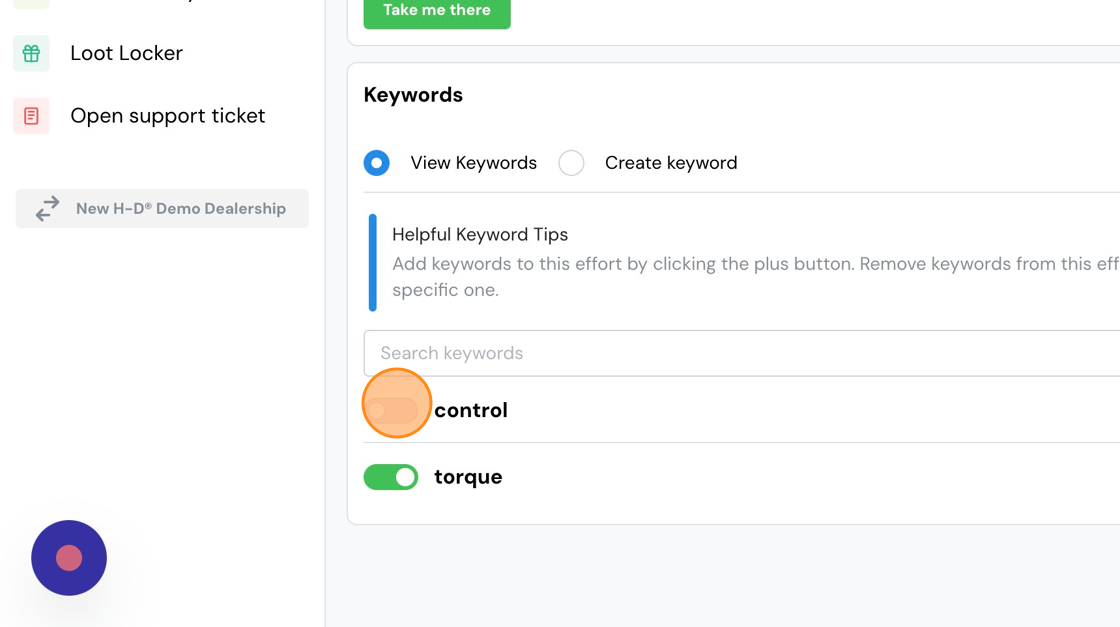
39. While we're here, let's create more keywords. Select the "Create keyword" button.

40. Type the keyword, and set the start/end date and time.

41. Click "Add Keyword"

42. Turn it on by clicking the toggle next to it. To add more keywords, repeat the last 4 steps.
43. Turn your contest on.

44. Let's jump back over to the main sweepstakes by clicking the "Take Me There" button.

45. We need a cover image for the sweepstakes. Just like the contest, 450x600 is ideal, with a safe-zone at the top and bottom of the image.

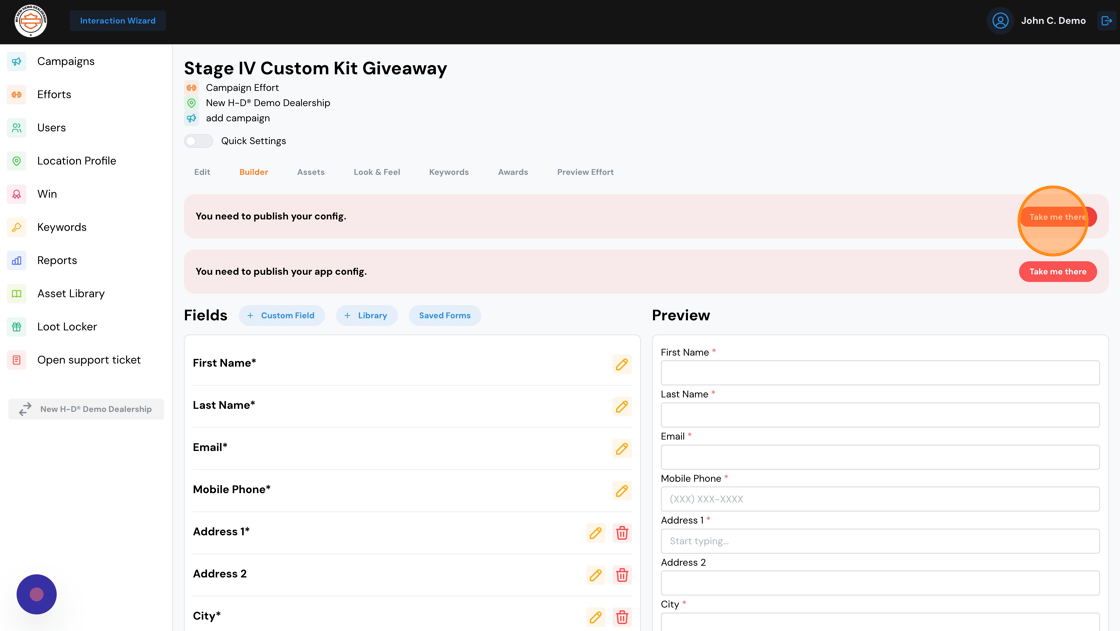
46. Now, you'll see some warning flags on the main sweepstakes effort. The first one is reminding us to update the registration form questions. Click the "Take me there" button.

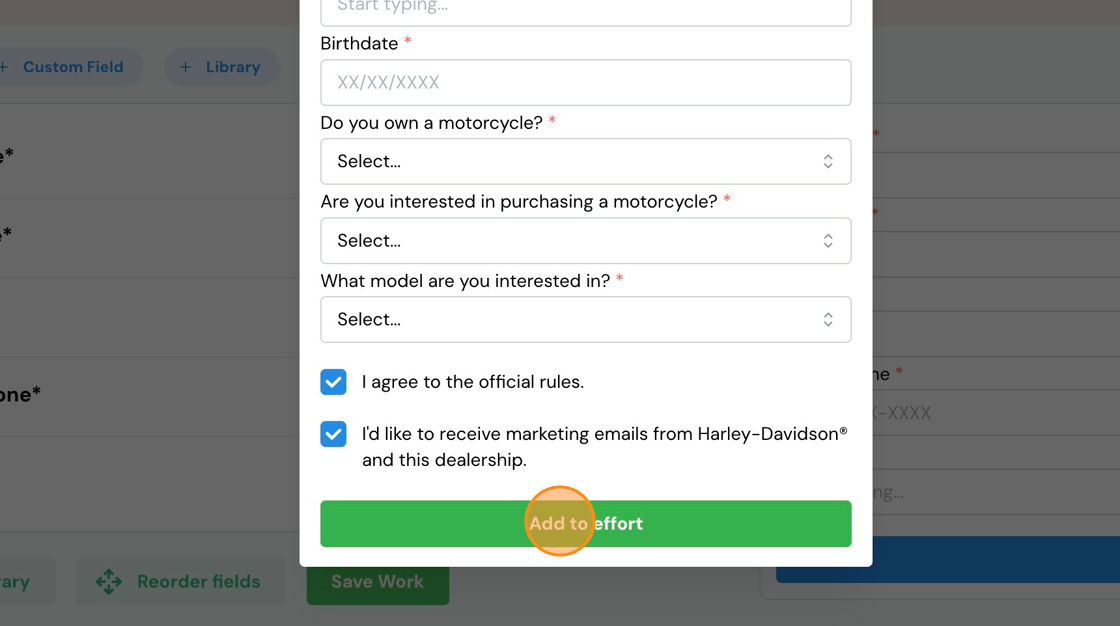
47. If you want to use the standard H-D registration form, click the "Saved Forms" button.

48. Click the drop-down arrow next to the form name.

49. Scroll down, and click "Add to effort"
50. Click "I'm Sure. Do It!"

51. Now we have two remaining warning flags to clear, which are telling us to publish our changes and turn the sweepstake on. Click "take me there".
52. Before we publish our changes, toggle "Include in gallery" to On. This ensures that customers scanning your gallery QR code will see this sweepstakes.
Cilck save after toggling "Include in gallery" to on.

53. Click "Publish Config".

54. Click "Publish App Config".

55. Click "on" to turn the sweepstakes on.

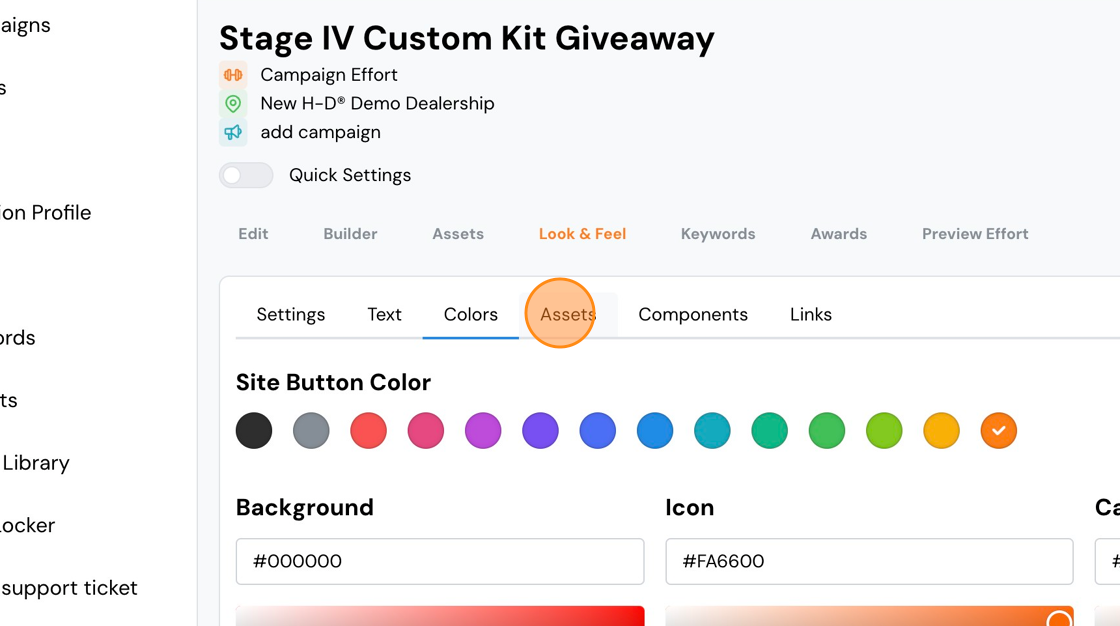
56. Your sweepstakes is on and ready to use. The steps that follow are optional, but you're encouraged to complete them. Click "Look & Feel".

57. Click the "Colors" tab.

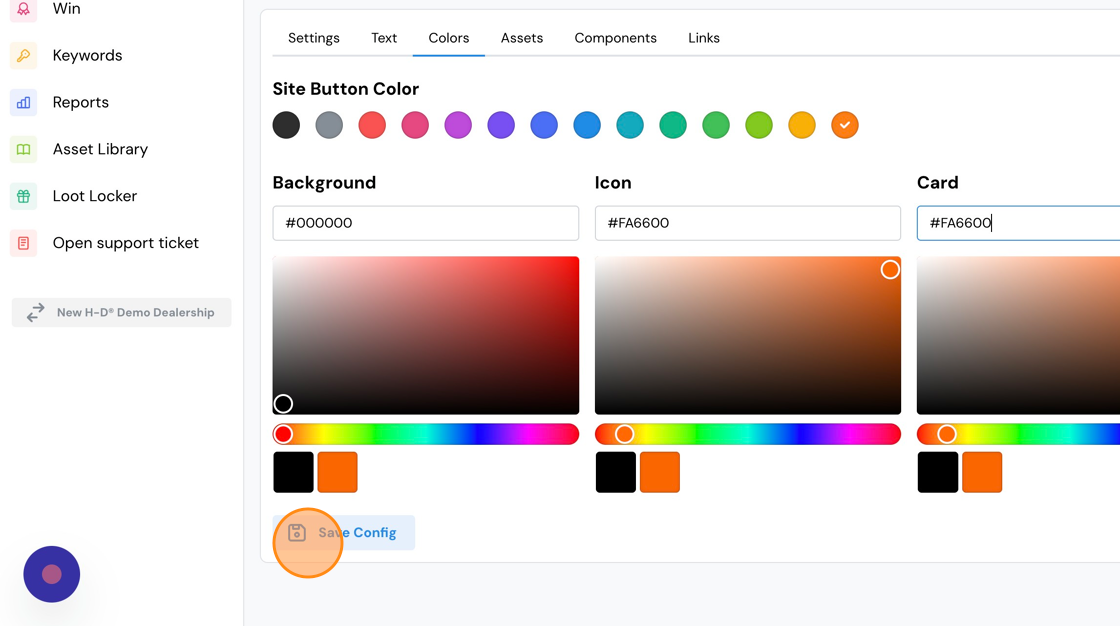
58. To match the H-D color schemes, first set the button color to orange (the far right color selection.)

59. Set the colors for the background, icons and contest cards. To match H-D colors, set the background to #000000, and the Icon and Card to #FA6600.
Click the Save Config button.
60. If you want to add an image to the pop-up modal window, click the "Assets" tab.
61. Click "Upload" and add an image. You may also add a background image if you choose.

62. If you want to add links for rules, privacy policy or official web sites, click "Links".

63. Click "Add"

64. Type the text you want the customer to see, and the corresponding URL in the field below.

65. Click "Create". Repeat to add additional links.

66. Because we made changes, a flag will pop-up because we have new, unpublished changes. Click "Take me there".
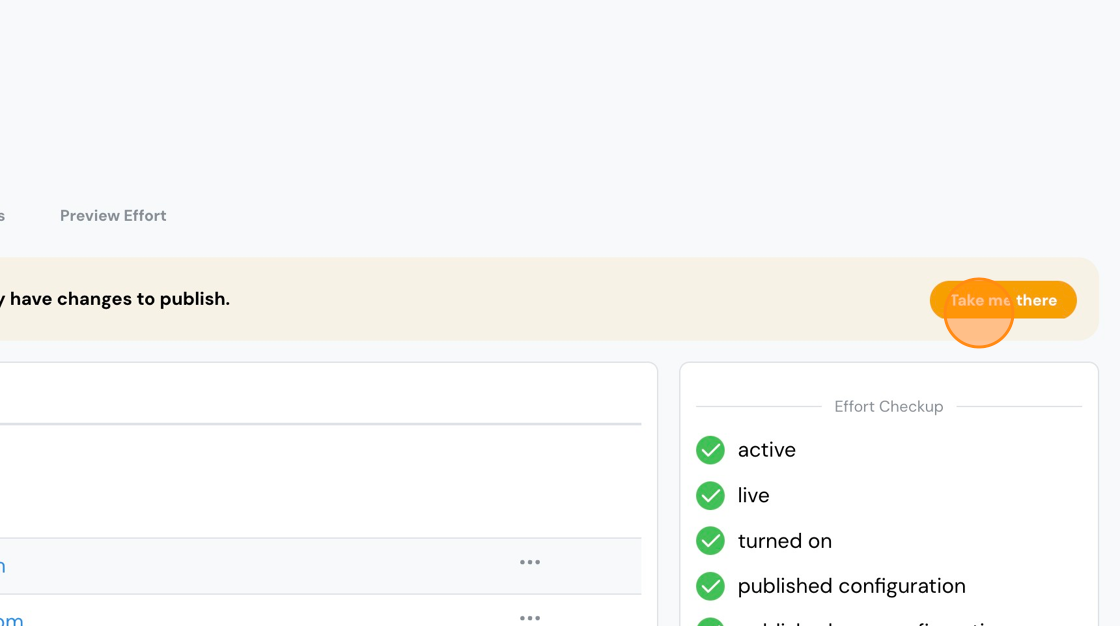
67. Click "Publish Config".
Comments
0 comments
Please sign in to leave a comment.